

The Setting: A gloomily overcast day, complete with severe weather warnings. Here's hoping the storms stay away!
The Soundtrack: Educational programming on PBS. Why was this not my go-to for TV-time all along?
Steaming up the Oven: Nothing in the oven, but there's Vietnamese Chicken Salad, a la Hot Sour Salty Sweet in the fridge!
The Scenario: I've been working on a post about a composed dessert that involves whipped coconut cream. As I've been writing and editing and amending and basically creating an appendix-worth of notes just on the whipped cream section, I had to switch gears and make this a post of its own--composed dessert to come tomorrow.
Please forgive the long-winded post--it's been a bit of a journey.
So I don't know if I've mentioned it, but in January I discovered I'm lactose intolerant. I guess it was sort of a latent situation. I've never been much of a milk drinker, and you kind of expect to get sick when you eat a whole container of ice cream, so I never thought much about it. Then in December I started getting these terrible stomach pains (I'd been chowing down pretty aggressively on my toddler's string cheese and adding skim lattes back to the diet after a year-and-a-half hiatus from my green-and-white-cup addiction), and the doctor told me to cut out dairy.
I was bummed. Fortunately, my favorite aged cheeses were pretty much lactose free (most of the milk's lactose is converted into lactic acid in the cheese-making/aging process), but certain cheeses, butter, ice cream, and whipped cream were solidly in the danger zone.
Cutting back on plain milk wasn't an issue. I'd been using almond or coconut milk in my cereal for years, and I'd often replace butter with coconut oil. But what use in place of whipped cream?
I'd been thinking about experimenting with some combination of coconut milk and coconut oil (for added fat content), but suddenly, with perfect timing, I started seeing multiple references on Pinterest to what appeared to be the whipped coconut cream of my dreams.
The instructions all seemed fairly straightforward: scoop off the solidified fatty layer from the top of a can of coconut milk, add sweetener and flavorings, and whip.
Of course! I had gotten so used to using the coconut milk that comes in a milk carton that I had completely forgotten the canned version has a convenient cream layer just begging to be whipped! It was the answer to my problem--in theory.
In practice, however, it wasn't quite so dreamy.
You may have seen my reference to my first whipped-coconut-cream attempt in my No-Bake Irish Cream Cheesecakes post. I got the stuff to whip up only after adding dairy cream to the mixture and switching from my beloved electric whisk to the good-old manual method and an extra dose of elbow grease. At the time I credited the addition of dairy cream for my eventual success at achieving those covet-worthy peaks, but it turns out the method of whipping made the difference.
I learned this lesson in my second attempt. This time I employed the electric stand mixer. At first it looked like soft peaks were seconds away. The mixture seemed to be taking in air and getting ever-so-slightly more voluminous--and then it separated into liquid and clumps. Suddenly and without warning, I had a curdled mess.
Unwilling to concede defeat, I dumped the mixture into the blender and blitzed it back into a homogeneous substance. Now it just looked like milk. I poured it into a Tupperware container and put it in time out (in the fridge) for bad behavior.
A few hours later I shrugged my shoulders, removed the mixture from the fridge, transferred it to a large, metal mixing bowl, and got out the old trusty whisk. Within a minute or two of hand-whipping and sheer determination, I had this:
.JPG)
It was exquisite.
Feeling like I had landed on perfection like Dorothy landing on the Wicked Witch of the East (happy to be out of the storm, but not quite sure I could write a travel guide on how to get from Kansas to Oz), I knew I had to try this whole thing one more time and attempt to streamline the process.
So here, at long last, are my pointers for success:
1. Some of the recipes I found via Pinterest suggested chilling the can of coconut milk ahead of time to make it easier to separate the cream from the water. This does help to drastically define the layers, but it makes the cream very hard and crumbly. I actually found it easier to work with at room temperature. Just use a fork to remove the soft cream--the tines allow any excess water drain off into the can.
.JPG)
This is the absolute wettest a forkful should be. It's OK to leave a few floaters in the can.
.JPG)
This is what you should end up with cream-wise:
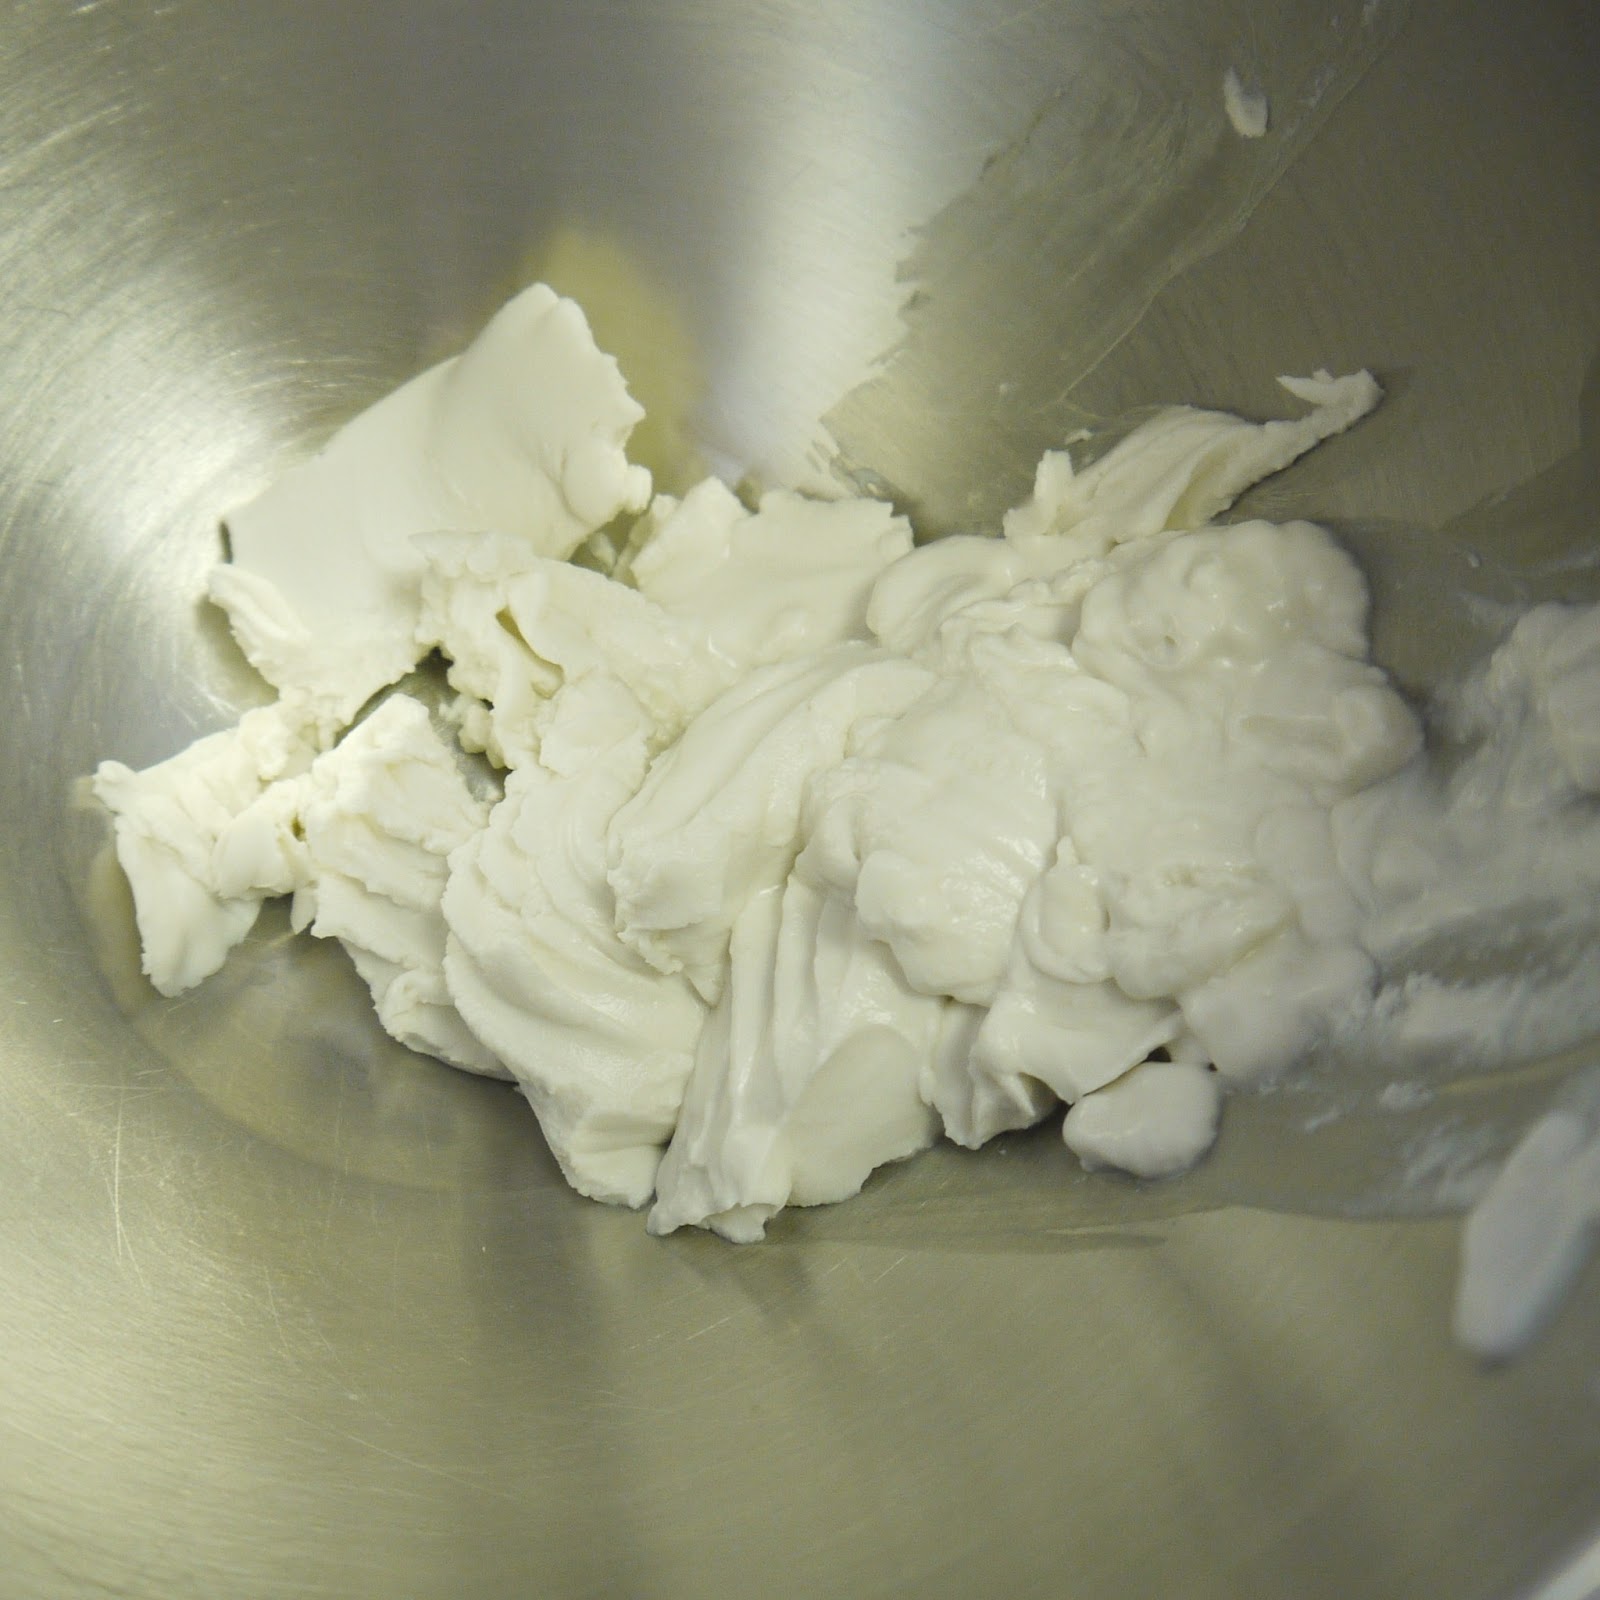
2. The cream above is pictured in a mixing bowl, but I've found the best process is to begin in the blender, preferably a VitaMix or similarly beastly apparatus. Add your sweetener and flavoring of choice--I've tried various combinations of honey (1 T) or powdered sugar (1 1/2 T) and vanilla extract (1 tsp) or vanilla bean paste (1 tsp) and/or coconut rum (1 tsp)--and blend on high for about 30 seconds or until you have what looks like slightly frothy milk.

Transfer to a small container and chill for at least an hour. The mixture will thicken slightly in the fridge, but it has not yet reached its full potential.

3. Transfer the cream to a large, metal mixing bowl and use a wire whisk to whip it just until it holds soft peaks.


Use immediately or store in an airtight container in the fridge for up to four days. It will become slightly firmer in the fridge, but it will be just as easy to dollop!
Thanks for reading! Here's to Being the Secret Ingredient in your life.


.JPG)
yes.JPG)
No comments:
Post a Comment